Three Quiet Experiments to Master Visual Balance
Why balance matters and how to practice it
Balance is not symmetry. It is the felt stability of a frame: how shapes, tones, and edges relate so the eye rests or travels where you intend. These three small experiments are designed to be done in fifteen to thirty minutes each, using ordinary objects and a phone or camera. Each experiment exposes a common mistake, offers a corrective habit, and then asks you to make a deliberate adjustment. The exercises build on one another so the skill grows incrementally.
Experiment 1 — Simplify and find the anchor
Objective: Remove visual clutter and identify a single anchor point that gives the composition weight.
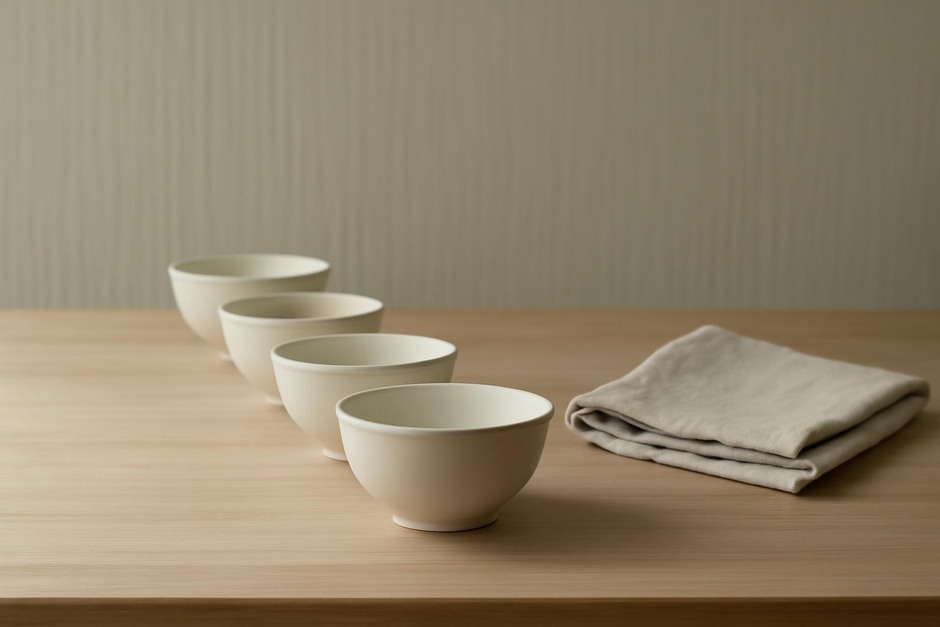
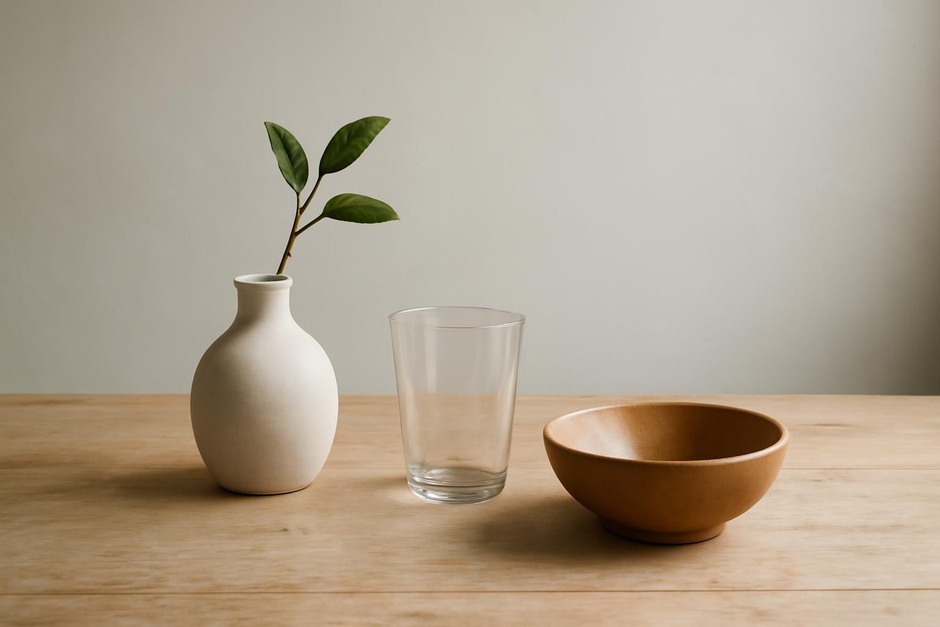
- Set up three to five objects on a table near a window. Keep the background plain (wall or plain fabric).
- Frame the group so all objects are visible but don’t crop tightly—leave some breathing room.
- Take a picture without moving anything, then step back and look only at the negative space for ten seconds.
Common mistakes and simple corrections:
- Mistake: Every object competes for attention. Correction: Remove the least interesting object and retake the shot.
- Mistake: The frame has no clear focal weight. Correction: Move a darker or larger object slightly toward the edge to act as an anchor.
- Mistake: The background pattern distracts. Correction: Replace it with plain fabric or shift angle to isolate the subjects.
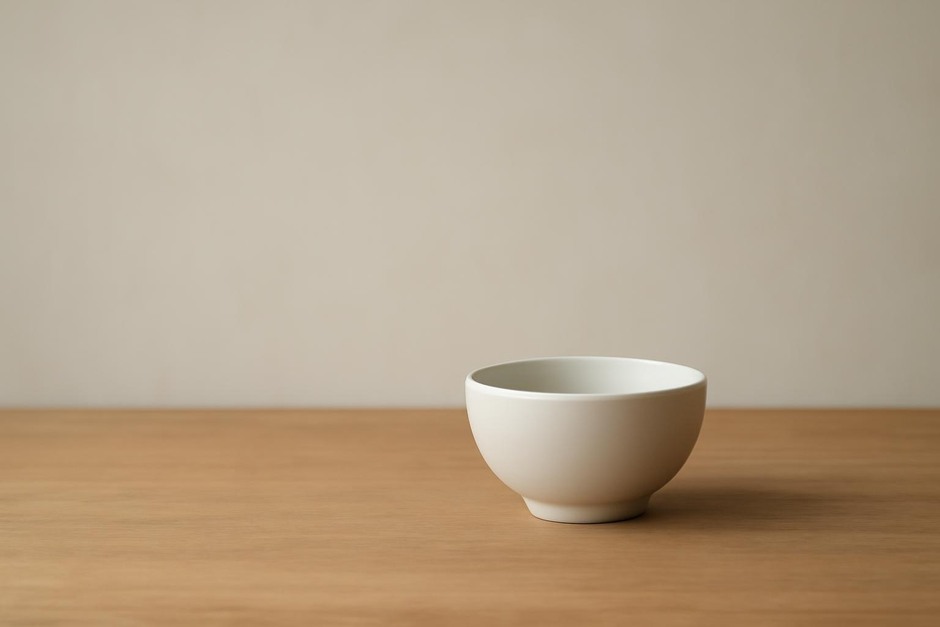
Variation: Swap the anchor object with a smaller, denser one (e.g., a stone or cup) and observe how weight shifts even when size decreases.
Experiment 2 — Counterbalance with tone and texture
Objective: Learn to balance a visually heavy element using opposing tone or texture rather than matching size.
- Use the setup from Experiment 1 with the anchor in place. Add a contrasting small object at the opposite side of the frame (a white card, a reflective spoon, a textured cloth corner).
- Take a picture and observe whether the eye still lingers only on the anchor or travels to the counter-object.
- Adjust the contrast, angle, or distance of the counter-object until the frame feels harmonious.
Common mistakes and corrections:
- Mistake: Trying to balance with a larger object that creates a new heavyweight. Correction: Use small tonal contrasts (light versus dark) or texture differences (smooth versus rough) to balance without adding bulk.
- Mistake: Placing the counter-object too close to the anchor so they read as a pair. Correction: Increase separation so they function as opposing forces, not twins.
- Mistake: Overusing color to balance. Correction: Test in monochrome or mute color saturation to confirm the balance is tonal, not merely chromatic.
Variation: Try balancing by introducing a subtle leading line (the edge of a book or shadow) that directs the eye toward the anchor instead of away from it.
Experiment 3 — Dynamic balance with tension and release
Objective: Practice creating a sense of movement or tension that resolves into visual calm—useful for sequences or environmental still life.
- Keep the anchor and counter-object from earlier exercises. Add a small diagonal element (a leaning twig, a ribbon, a tilted card) that points from the counter-object toward the anchor.
- Photograph at two heights: one at table level and one slightly higher. Notice how perspective changes the relationship between elements.
- Adjust the angle of the diagonal element until the eye follows it and rests on the anchor.
Common mistakes and corrections:
- Mistake: The diagonal splits the frame unequally and creates visual unease. Correction: Soften the angle or shorten the element so it suggests movement without slicing the composition.
- Mistake: Perspective causes overlap that hides the counter-object. Correction: Change camera height slightly so shapes remain distinct and the visual path is clear.
- Mistake: Relying on motion blur to imply movement. Correction: Use static elements arranged to imply direction—this yields more readable balance in still images.
Bringing the experiments together
Do these three exercises in sequence multiple times with different objects and lighting. Each round, try to make one smaller change than the last—move an object half an inch, decrease contrast slightly, or shift a diagonal a few degrees. The skill you are building is subtle: learning to see how small adjustments change perceived weight and flow. Keep a quiet checklist with you: simplify, anchor, counter, guide.
Practice schedule suggestion: three sessions per week, 20 minutes each. After a month you’ll notice that choices you once made by intuition become deliberate options. That deliberate attention is the quiet craft of visual storytelling: small experiments, steady corrections, and compositions that feel measured rather than accidental.